Part 1: Outline and Introduction
Nestle Toll House Cookie Recipe with White Chocolate Chips
Introduction
There’s nothing like the aroma of freshly baked cookies wafting through your kitchen. For decades, Nestle Toll House cookies have held a special place in the hearts of bakers and cookie lovers worldwide. Known for their perfect balance of sweetness, texture, and nostalgia, these cookies are a treat for every occasion.
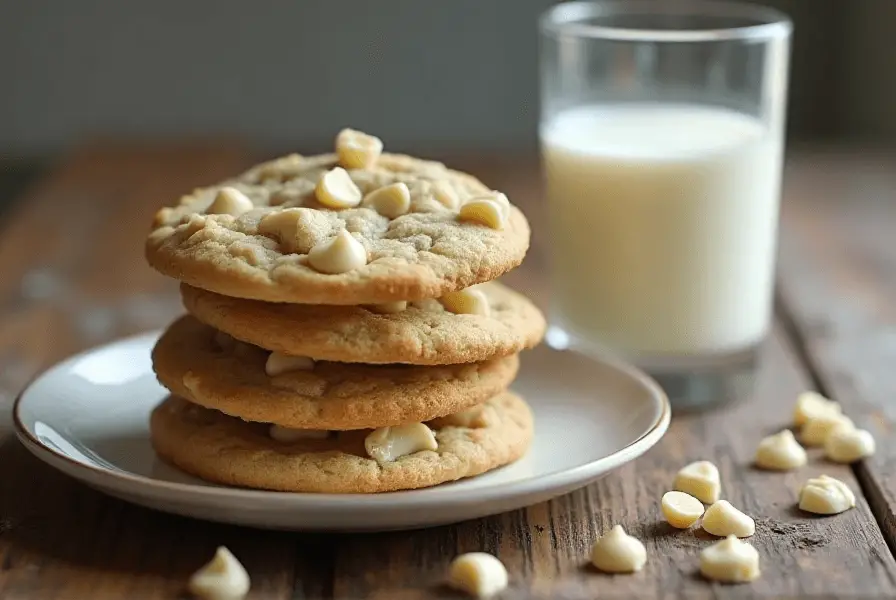
This article will guide you through creating a delightful twist on the classic recipe: Nestle Toll House White Chocolate Chip Cookies. With their creamy, sweet flavor and soft texture, these cookies are sure to become a family favorite. Whether you’re an experienced baker or just starting your baking journey, this step-by-step guide will ensure your cookies come out perfect every time.
In addition to the recipe itself, we’ll explore the fascinating history of Toll House cookies, share baking tips, and provide variations to customize your cookies to suit your taste. Let’s dive in and discover why these cookies are a timeless treasure.
Part 2: History of Nestle Toll House Cookies

History of Nestle Toll House Cookies
The Origin Story
The story of Nestle Toll House cookies begins in the 1930s with Ruth Wakefield, the owner of the Toll House Inn in Whitman, Massachusetts. Ruth was known for her culinary creativity and often experimented with new recipes for her guests. One day, while preparing a batch of butter cookies, she decided to mix in chunks of Nestle semi-sweet chocolate, expecting them to melt and blend into the dough. To her surprise, the chocolate held its shape, creating the first chocolate chip cookie.
This happy accident quickly became a sensation. Guests at the Toll House Inn couldn’t get enough of the cookies, and soon the recipe was being shared far and wide. In 1939, Nestle partnered with Ruth Wakefield to print the now-famous Toll House Chocolate Chip Cookie recipe on their chocolate packaging, cementing its place in baking history.
The Rise of White Chocolate as an Alternative
While semi-sweet chocolate chips are the classic choice for Toll House cookies, white chocolate has emerged as a popular alternative. White chocolate, made from cocoa butter, sugar, and milk solids, offers a creamy, sweet flavor that complements the buttery richness of the cookies.
The adaptation of the original recipe to include white chocolate chips reflects how versatile the Toll House base recipe is. Bakers began experimenting with white chocolate in the late 20th century, pairing it with ingredients like macadamia nuts and dried cranberries to create new variations of the iconic cookie. Today, white chocolate Toll House cookies are a beloved treat for those who prefer a lighter, sweeter twist on the classic.
The Ingredients Breakdown

Essential Ingredients for Toll House Cookies
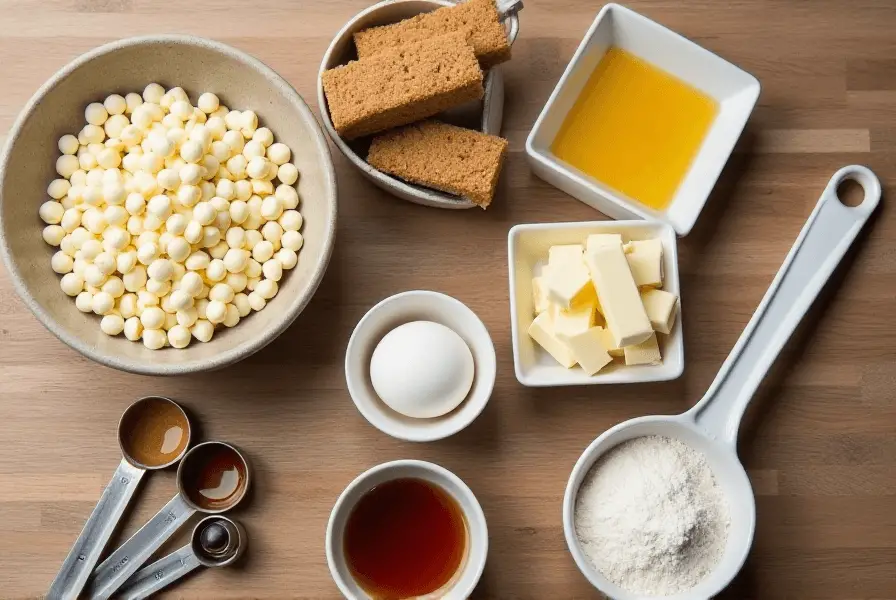
To achieve the perfect cookie, using high-quality ingredients is key. Here’s a breakdown of what you’ll need for the white chocolate version of the Nestle Toll House cookie recipe:
- Butter: Provides richness and ensures a soft texture. Always use unsalted butter to control the salt content in your recipe.
- Sugar: A combination of granulated sugar and brown sugar is essential for the signature chewy texture and caramel flavor.
- Flour: All-purpose flour works best for this recipe, providing the right balance of structure and tenderness.
- Eggs: Eggs act as a binder and add moisture to the cookies.
- Vanilla Extract: Enhances the flavor and complements the white chocolate.
- Baking Soda: Ensures the cookies rise slightly while baking.
- Salt: Balances the sweetness and enhances the other flavors.
- White Chocolate Chips: The star of this recipe! Opt for high-quality white chocolate chips for the best flavor and texture.
Substitutions and Variations
If you want to customize your cookies, here are some substitutions and variations to consider:
- Butter: Substitute with coconut oil or margarine for a dairy-free option.
- Sugar: Use coconut sugar or honey for a natural sweetener alternative.
- Flour: For a gluten-free version, use almond flour or a 1-to-1 gluten-free baking mix.
- White Chocolate Chips: Try mixing in dark or milk chocolate chips for a flavor contrast.
White Chocolate Chips: Choosing the Best Brand
The quality of your white chocolate chips can make or break the recipe. Look for brands that list cocoa butter as a primary ingredient, as it ensures a creamy texture and authentic flavor. Avoid chips made with primarily vegetable oil, as they may taste waxy and lack richness. Popular choices include Ghirardelli, Callebaut, and, of course, Nestle’s own white chocolate chips.
Part 3: Step-by-Step Instructions

Step-by-Step Instructions
Preparing the Dough
Creating the perfect Nestle Toll House white chocolate chip cookies starts with preparing a rich, buttery dough. Follow these steps to ensure your cookies are a success:
- Gather Your Ingredients: Before you start, ensure all ingredients are at room temperature. This helps the butter and sugar cream together smoothly and allows the dough to mix evenly.
- Preheat Your Oven: Set your oven to 375°F (190°C) and line baking sheets with parchment paper or silicone baking mats.
- Cream Butter and Sugars: In a large mixing bowl, combine 1 cup (2 sticks) of unsalted butter with ¾ cup granulated sugar and ¾ cup packed brown sugar. Use a hand or stand mixer to beat the mixture on medium speed until it’s light and fluffy, about 2–3 minutes.
- Add Vanilla and Eggs: Beat in 1 teaspoon of vanilla extract and 2 large eggs, one at a time, ensuring each is fully incorporated before adding the next.
Tips for Mixing Ingredients Perfectly
- Sift Dry Ingredients: In a separate bowl, sift together 2 ¼ cups of all-purpose flour, 1 teaspoon of baking soda, and ½ teaspoon of salt. Sifting ensures even distribution of leavening agents and prevents lumps.
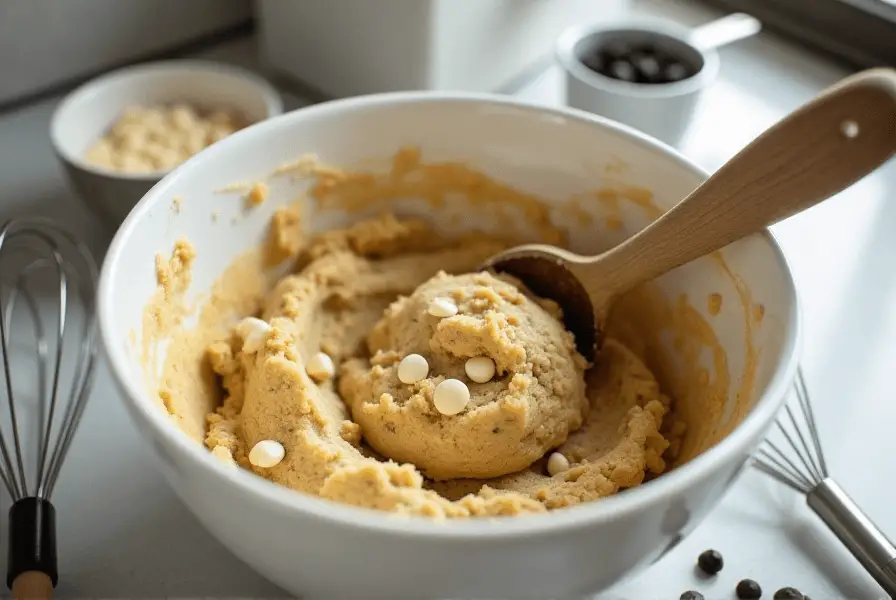
- Incorporate Gradually: Gradually add the dry ingredients to the wet mixture. Mix on low speed to avoid overworking the dough, which can lead to tough cookies.
- Fold in White Chocolate Chips: Using a spatula, gently fold in 2 cups of high-quality white chocolate chips. For added flavor, consider mixing in ½ cup of chopped nuts, such as macadamias or pecans.
Shaping and Baking for Perfect Results
- Shape the Dough: Scoop out dough using a tablespoon or a small cookie scoop for uniform sizing. Roll each portion into a ball and place them on the prepared baking sheets, leaving about 2 inches of space between cookies to allow for spreading.
- Chill if Necessary: If your kitchen is warm, refrigerate the shaped dough balls for 15–20 minutes before baking. This prevents the cookies from spreading too much.
- Bake: Place the cookies in the preheated oven and bake for 9–11 minutes, or until the edges are golden brown but the centers remain soft.
- Cool: Remove the baking sheets from the oven and let the cookies cool for 2 minutes before transferring them to a wire rack to cool completely.
Pro Tips for Better Results
- Even Baking: Rotate the baking sheets halfway through the baking time for evenly browned cookies.
- Monitor Baking Time: White chocolate cookies can brown quickly, so keep a close eye on them during the final minutes of baking.
- Experiment with Sizes: For larger cookies, use 2 tablespoons of dough per cookie and bake for an extra 1–2 minutes.
Part 4: Variations on the Classic Recipe
Variations on the Classic Recipe
Adding Nuts or Fruit for Extra Flavor
One of the joys of baking is the freedom to experiment with flavors. Here are some popular add-ins that pair wonderfully with white chocolate chips:
- Macadamia Nuts: A classic pairing with white chocolate, macadamia nuts add a rich, buttery crunch. Use ½ to 1 cup of chopped nuts for the perfect texture.
- Dried Cranberries: The tartness of dried cranberries balances the sweetness of white chocolate, creating a cookie that’s both vibrant and delicious. Add ½ cup to your dough.
- Shredded Coconut: For a tropical twist, mix in ½ cup of sweetened or unsweetened shredded coconut.
- Orange Zest: A teaspoon of finely grated orange zest complements the creamy white chocolate and adds a hint of citrusy brightness.
Gluten-Free and Vegan Versions
Creating cookies for those with dietary restrictions doesn’t mean sacrificing flavor. Try these substitutions:
Gluten-Free White Chocolate Chip Cookies:
- Replace all-purpose flour with a 1-to-1 gluten-free baking flour. Brands like Bob’s Red Mill or King Arthur Flour work well.
- Ensure your white chocolate chips are certified gluten-free.
Vegan White Chocolate Chip Cookies:
- Substitute butter with vegan butter or coconut oil.
- Replace eggs with a plant-based alternative such as flaxseed meal (1 tablespoon of flaxseed meal mixed with 3 tablespoons of water equals one egg) or unsweetened applesauce (¼ cup per egg).
- Use dairy-free white chocolate chips, like those from Enjoy Life or Nestle’s Simply Delicious line.
Storing and Freezing the Dough
Planning ahead can save time and make it easy to enjoy fresh cookies whenever you want. Here’s how to store and freeze your cookie dough:
- Refrigerating the Dough:
- After preparing the dough, wrap it tightly in plastic wrap or transfer it to an airtight container.
- Refrigerate for up to 3 days before baking.
- Freezing Dough Balls:
- Shape the dough into individual balls, then arrange them in a single layer on a baking sheet. Freeze for 1–2 hours or until solid.
- Transfer the frozen dough balls to a resealable freezer bag. Label the bag with the date, and freeze for up to 3 months.
- Baking from Frozen:
- There’s no need to thaw frozen dough balls before baking. Simply place them on a baking sheet and bake as directed, adding 1–2 extra minutes to the baking time.
Creative Serving Suggestions
Once your cookies are baked, consider these ideas to take them to the next level:
- Cookie Ice Cream Sandwiches: Place a scoop of vanilla or coconut ice cream between two cookies for a decadent dessert.
- Cookie Crumble Topping: Crumble cookies over yogurt, oatmeal, or ice cream for added crunch and flavor.
- Gifting: Package your cookies in decorative boxes or jars and share them as homemade gifts for holidays or special occasions.
Part 5: Baking Tips for Beginners and Experts
Baking Tips for Beginners and Experts
Achieving the Perfect Texture: Crispy vs. Chewy
One of the best things about Nestle Toll House cookies is their versatility. Whether you prefer your cookies crispy or chewy, slight tweaks to the recipe can make all the difference.
For Chewy Cookies:
- Use More Brown Sugar: Brown sugar has a higher moisture content than granulated sugar, which contributes to a soft, chewy texture. Adjust the sugar ratio to 1 cup of brown sugar and ½ cup of granulated sugar.
- Shorter Baking Time: Remove the cookies from the oven when the edges are set, but the centers still appear slightly underbaked. They’ll continue to firm up as they cool.
For Crispy Cookies:
- Use More Granulated Sugar: Opt for a ratio of 1 cup of granulated sugar and ½ cup of brown sugar. Granulated sugar helps cookies spread and crisp up during baking.
- Flatten the Dough: Use the back of a spoon or your fingers to slightly flatten the dough balls before baking for thinner, crisper cookies.
- Bake Longer: Extend the baking time by 2–3 minutes to achieve golden, crisp edges and a crunchy bite.
Troubleshooting Common Cookie Issues
Even experienced bakers encounter hiccups from time to time. Here are solutions to some common cookie problems:
- Cookies Spreading Too Much:
- Chill the dough for 30 minutes before baking.
- Ensure your butter isn’t too soft or melted; start with butter that’s just softened.
- Check your baking sheet. Non-stick or insulated sheets can cause cookies to spread more than parchment-lined sheets.
- Dry, Crumbly Cookies:
- Avoid overmixing the dough after adding flour, as this can lead to tough cookies.
- Measure flour correctly by spooning it into the measuring cup and leveling it off with a knife. Overpacking the flour can dry out the dough.
- Uneven Baking:
- Always rotate your baking sheets halfway through the baking time.
- If you’re baking multiple sheets at once, switch their positions on the oven racks for even heat distribution.
Mastering Consistency
The key to consistent results lies in precision and attention to detail:
- Weigh Your Ingredients: For the most accurate results, use a kitchen scale to weigh your ingredients instead of relying on measuring cups.
- Use the Right Tools: A cookie scoop ensures evenly sized cookies, which bake at the same rate.
- Oven Calibration: Invest in an oven thermometer to ensure your oven temperature matches its setting. A few degrees off can impact your results significantly.
Advanced Tips for Experts
- Brown Butter for Depth: For a nutty, caramel-like flavor, brown the butter before creaming it with the sugars. Let it cool to room temperature before using.
- Chill Dough Overnight: Resting the dough for 24–48 hours before baking allows the flour to fully hydrate and the flavors to develop, resulting in richer, more flavorful cookies.
- Experiment with Salt: A sprinkle of flaky sea salt on top of each cookie before baking can elevate the flavors, balancing the sweetness of the white chocolate.
Part 6: Frequently Asked Questions (FAQ)
FAQ
What makes Toll House cookies different from other cookie recipes?
Toll House cookies stand out due to their perfect balance of texture and flavor. The recipe uses a combination of brown sugar and granulated sugar, giving the cookies a chewy center with crisp edges. Additionally, the inclusion of a generous amount of chocolate chips (or white chocolate chips in this variation) ensures every bite is packed with sweetness.
Another key difference is the versatility of the recipe. Whether you follow the classic recipe or customize it with add-ins like nuts, fruits, or different types of chocolate, Toll House cookies always deliver consistent, delicious results.
Can you use dark chocolate instead of white chocolate?
Absolutely! If you’re looking for a less sweet option or a flavor with more depth, dark chocolate chips can be substituted for white chocolate. Dark chocolate pairs particularly well with nuts or dried cherries, creating a sophisticated twist on the classic recipe. You can also experiment by using a mix of white and dark chocolate for a balance of creamy and bitter notes.
How do you prevent cookies from spreading too much?
Cookie spread can be controlled with these tips:
- Chill the Dough: Refrigerating the dough for at least 15–30 minutes before baking helps solidify the butter, which slows spreading.
- Use the Right Butter: Avoid using melted or overly soft butter. Start with butter that is just soft enough to cream with the sugars.
- Correct Oven Temperature: An oven that’s too cool can cause cookies to spread more as the butter melts before the dough sets. Always preheat your oven to 375°F and use an oven thermometer to ensure accuracy.
What’s the secret to soft cookies?
To achieve soft cookies, focus on the following techniques:
- More Brown Sugar: Increase the brown sugar slightly in the recipe, as its molasses content retains moisture.
- Don’t Overbake: Remove the cookies from the oven when the edges are set, but the centers appear slightly underbaked. They will firm up as they cool.
- Proper Storage: Store cookies in an airtight container with a slice of bread. The bread provides moisture, keeping the cookies soft longer.
Can you double or halve the recipe?
Yes, the Nestle Toll House recipe is flexible and can be adjusted to fit your needs. When doubling, ensure you mix the ingredients thoroughly to maintain consistency. When halving, use a kitchen scale to measure your ingredients accurately, especially when dividing eggs. To halve an egg, whisk it first, then use half of the mixture.
How do you keep cookies fresh for longer?
Proper storage is key to maintaining cookie freshness:
- Airtight Containers: Place cookies in an airtight container, separating layers with parchment paper to prevent sticking.
- Freezing: Cookies freeze well! Store them in an airtight bag or container in the freezer for up to 3 months. Let them thaw at room temperature before serving.
- Reheat for Freshness: Pop cookies in a 300°F oven for 3–5 minutes to restore their warm, freshly baked texture.
Further Reading and Inspiration
If you’re looking to explore more about the iconic Nestle Toll House Chocolate Chip Cookie Recipe, visit Corner Recipe’s detailed guide. This resource offers another perspective on the classic recipe, diving into its timeless appeal and providing additional tips for cookie perfection.
Conclusion
Baking Nestle Toll House cookies with white chocolate chips is more than just creating a delicious treat; it’s about carrying forward a tradition that has brought joy to families for generations. Whether you’re baking for a special occasion or simply indulging your sweet tooth, these cookies are a surefire way to spread happiness.
Remember, the beauty of this recipe lies in its adaptability. Feel free to experiment with flavors, textures, and add-ins to make it your own. With the tips, tricks, and variations shared in this article, you’re well-equipped to create the perfect batch every time. So grab your apron, preheat your oven, and enjoy the timeless joy of baking.
Happy baking!

